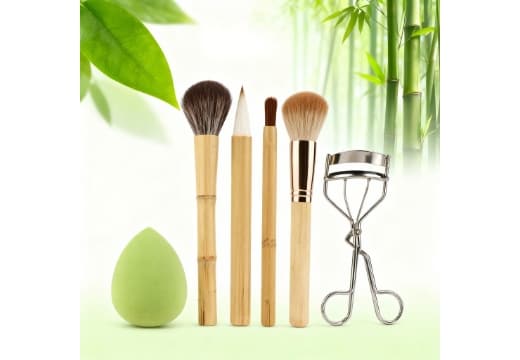
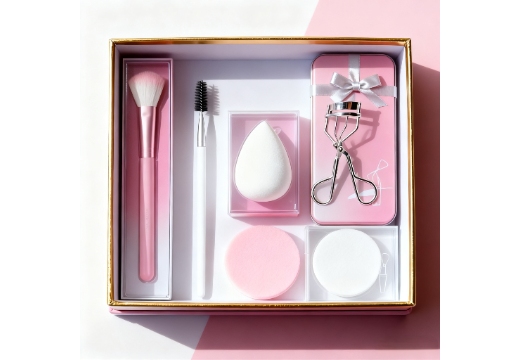
Unlocking the Magic of Your Beauty Blender: An Advanced Guide to Flawless Foundation Application
Are you still struggling with patchy, cakey, or settling foundation? You might own a makeup sponge or beauty blender, but do you know how to truly unleash its "magic"? A beauty blender is more than just a tool; it's the key to achieving a seamless, flawless foundation that looks and feels like a second skin. Today, we're revealing advanced techniques and exclusive tips to elevate your makeup application instantly!
Why Your Beauty Blender is Your Foundation "Ace" for Perfect Makeup
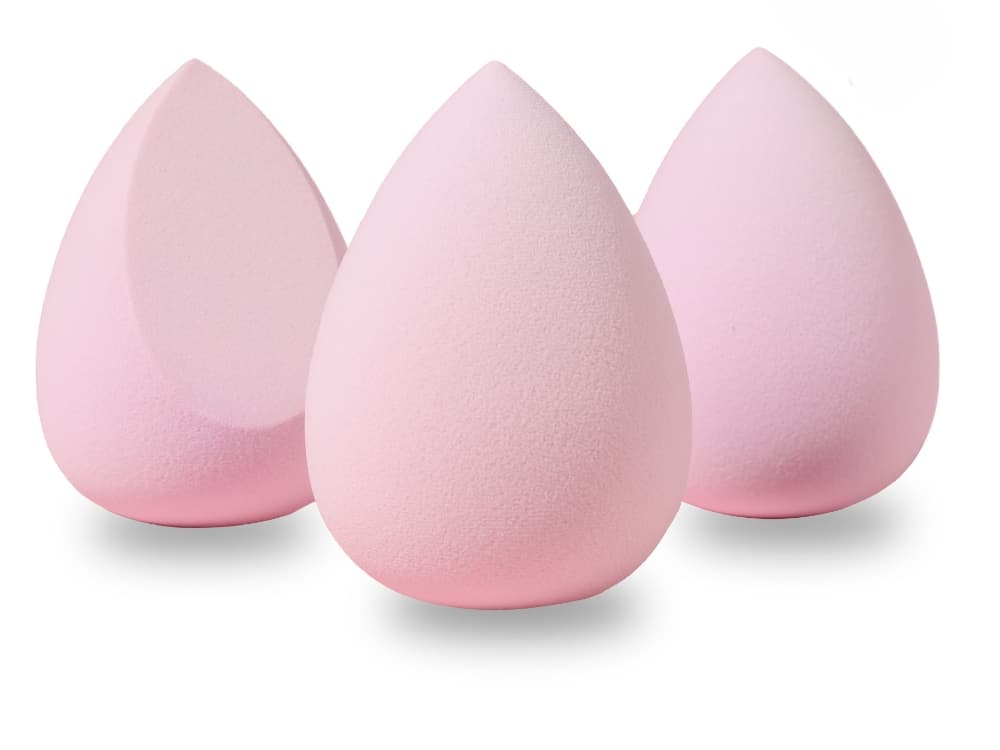
Traditional foundation brushes often leave streaks, and finger application can be uneven. The beauty blender's unique porous structure and hydrophilic material ensure even product distribution and a perfect blend with your skin, creating a "polished," natural finish. Its elasticity and softness also make the foundation application process a sheer delight, helping you achieve flawless makeup.
The Beauty Blender's Advanced Three-Step Ritual: Say Goodbye to Cakey Makeup!
Ready to go beyond the basics and take your foundation to the next level? These three steps are crucial for flawless makeup application:
Step One: Fully "Awaken" Your Beauty Blender for Optimal Performance!
This is a frequently overlooked but critically important step. Simple wetting isn't enough!
· Completely Saturate: Hold your makeup sponge under running water, allowing it to fully absorb moisture until it doubles in size. Imagine it like a sponge, where every micro-pore is filled with water molecules.
· Thoroughly Squeeze: Firmly squeeze out all excess water from the beauty blender until it's no longer dripping, retaining just a damp feel. You can use a clean towel or paper towel to assist in pressing out the water, ensuring your makeup sponge is in that perfect "damp, not drenched" state. This prevents the beauty blender from absorbing too much foundation, allowing more product to adhere to your skin for a smooth finish.
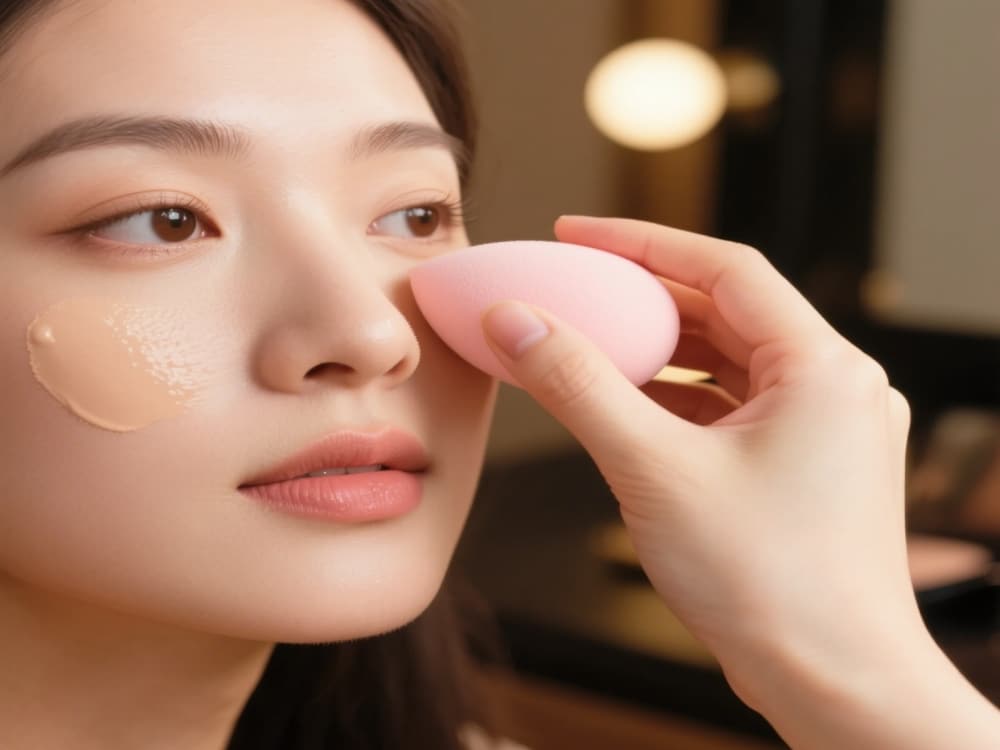
Step Two: Master the "Bounce-and-Press" Technique for Seamless Blending!
Stop swiping and dragging! The essence of using a beauty blender lies in its "bounce."
· Less is More (Often): Dab small amounts of foundation onto your forehead, cheeks, chin, and other areas.
· Gentle Bounce-and-Press: Using your damp beauty blender, apply the foundation with a light, quick, patting, and pressing motion. Remember, it's about "bouncing and pressing," not "smearing." This bouncing technique literally "presses" the foundation into your skin's texture rather than just sitting on the surface, effectively reducing the appearance of patchiness and avoiding cakey makeup.
· Targeted Coverage: For areas with larger pores or more imperfections, you can slightly increase the pressure and frequency of the bounce-and-press, building up coverage in thin layers for full coverage foundation.
Step Three: Flex Different "Angles" for Precision Application!
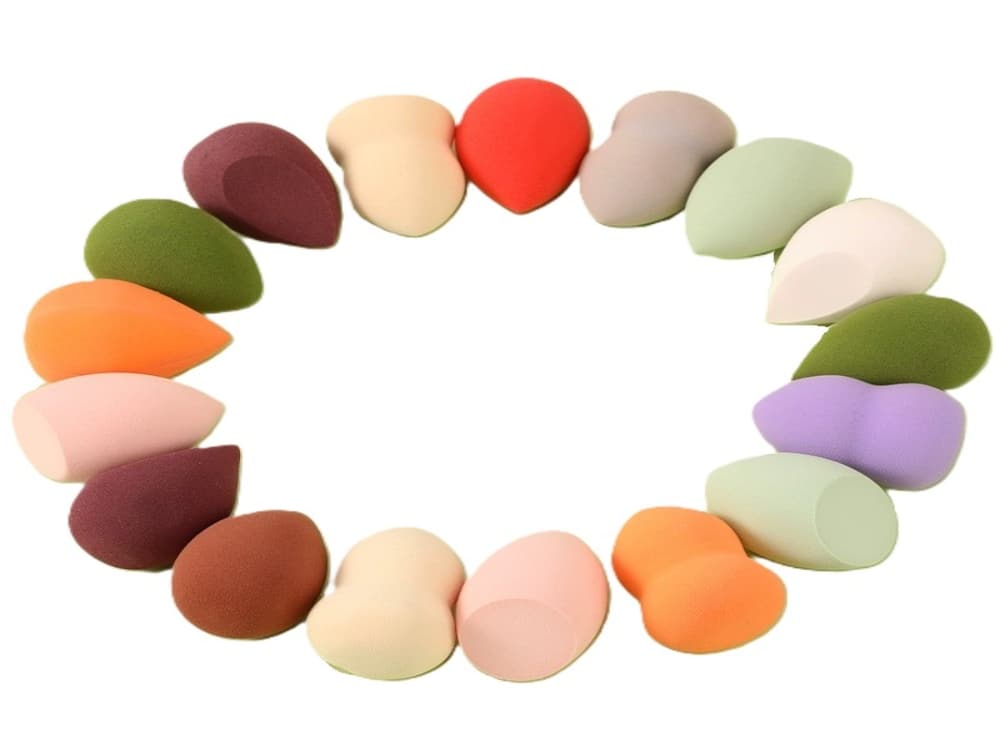
A beauty blender isn't just for one use; its unique shape is designed to tackle various facial areas for diverse makeup sponge uses:
· Large, Flat Surface: Ideal for broad areas like cheeks and the forehead to quickly lay down your base.
· Pointed Tip: Perfect for precise application around the eyes, nose, and mouth, flawlessly concealing dark circles or redness in those tricky spots, making it ideal for concealer application.
· Rounded Side: Hugs the contours of your face, great for blending out cream blush, highlighter, or contour.
Exclusive Beauty Blender Pro Tips: For Longer-Lasting, Perfect Makeup!
· The "Setting Sandwich" Method: After applying your foundation, use the pointed tip of your damp beauty blender to pick up a small amount of setting powder. Gently press it into oil-prone areas like your T-zone and under your eyes. This method creates a more seamless, long-lasting set than directly using a powder puff, helping your makeup last longer.
· Quick Fix for Cakey Makeup: If your makeup starts looking slightly cakey, no need to remove it all! Simply dampen and squeeze your makeup sponge again, then gently pat over the cakey areas a few times. This helps the product re-emulsify and settle back into the skin, effectively fixing cakey foundation.
· Dry/Wet Dual-Use "Secret": While damp application is standard, for drier concealers or when you need intense spot concealing, try using a dry beauty blender tip to dab on a small amount of product with a pressing motion. This can offer higher coverage.
· Multi-Purpose Powerhouse: Your beauty blender isn't just for foundation. It's also an excellent tool for blending liquid blush, liquid highlighter, and cream contour, ensuring these products seamlessly melt into your base. Learn more makeup sponge tips to enhance your routine!
The beauty blender's charm lies in its versatility and efficiency. With this advanced guide and these exclusive beauty blender hacks, we're confident you've unlocked the "magic" of your makeup sponge! Go ahead, grab yours, and experience the flawless makeup finish it delivers!

 Eco-Friendly Beauty Tools: How Makeup Brands Go Sustainable
 From Concept to Shelf: OEM Beauty Tools & Private Label Manufacturing
 5 Must-Have Beauty Tools for Every Makeup Brand in 2025 | UBeauty OEM Manufacturer
 How Many Beauty Tools Should Your Brand Offer? | Ubeauty OEM/ODM Guide
